Step 1: First I will start with an image.

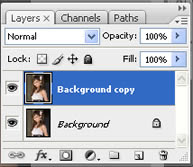
Step 2: Duplicate the Background layer.
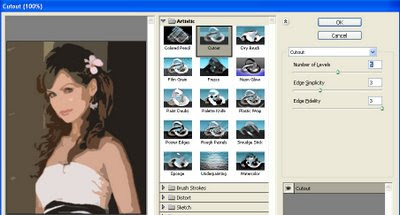
Step 3: Now apply the Cutout filter (Filter => Artistic => Cutout). On the left side the amount of detail in the vector can be controlled by adjusting the Number of Levels, Edge Simplicity and Edge Fidelity sliders. For this example I am using 5 levels, with the Edge Simplicity set to 3 and Edge Fidelity set to 3. Click OK.
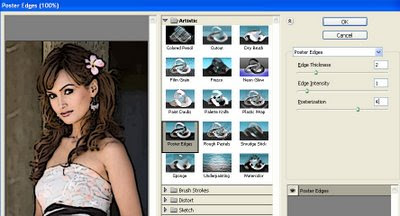
Step 4: You can trace the areas of color divided by the Cutout filter with the Poster Edges Filter. For this example the Edge Thickness is set to 2, Edge Intensity to 1 and Posterization to 4. Click OK.
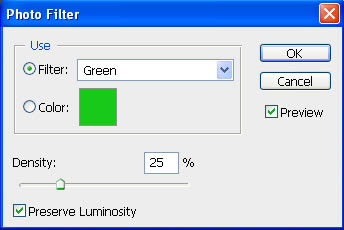
Step 5: The color can be changed subtly with a Photo Filter adjustment layer.
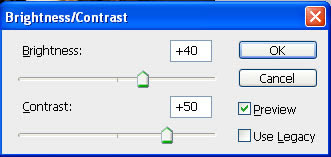
Step 6: And finally, to add to the 'colored' effect, a Brightness/Contrast adjustment layer will help take away the natural highlights/shadows even more.
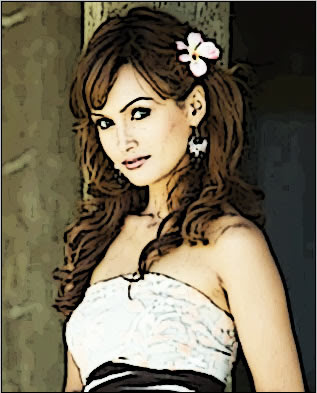
Step 7: Here is my final vector image:
No comments:
Post a Comment