Monday, May 31, 2010

How to Sharpen Photo without Increasing Noise Visibility


Sometimes it happens that we need to sharpen photos for which there is noise, for example, pictures taken at night. But overall increase in photo sharpness increases and the noise visibility also. How to be in this situation? I can show you one method in Photoshop, how to avoid it.

First of all you should find some appropriate photo to work with. I prefer to use this one below.
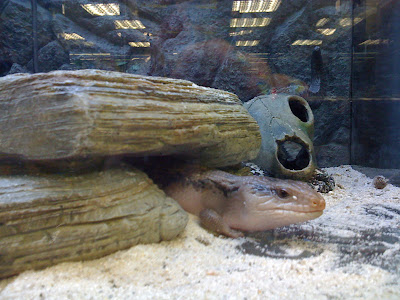
Open up this photo and start the tutorial. Go to Channel panel (Window > Channels). The first step is to look at the channels palette and determine which color channel best represents the area we want to capture. To the right, shown from top to bottom, you can see the red, blue, and green channels for this image. It’s obvious that the red channel contains the most information because it is most light. Click on the red channel and drag it down to the new channel button to create copy of it.
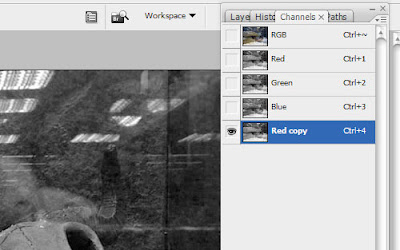
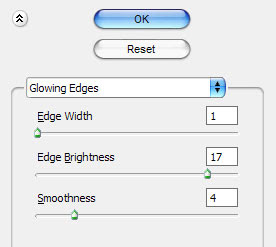
We got the copy as you can se on the above picture. Then apply for copied channel Filter > Stylize > Glowing Edges with similar settings to these:
Now we have effect like this:
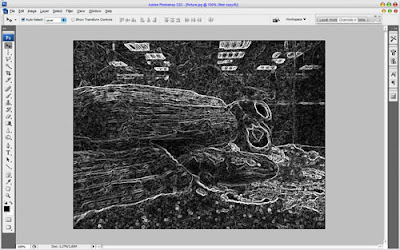
Hold the Ctrl button and click the Red copy thumbnail in the channels palette to load selection of this channel.
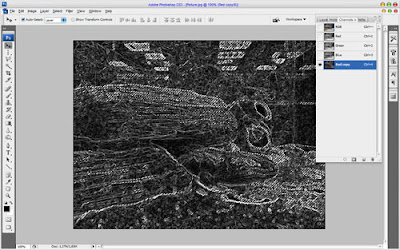
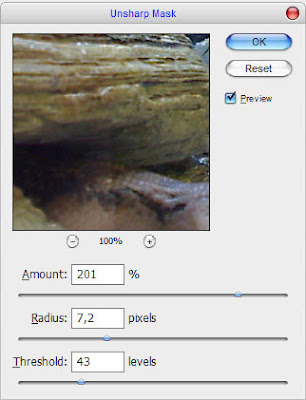
After that we can delete this channel: click on the Red copy channel and drag it down to the delete current channel button to delete it. Then go to layers palette (Window > Layers) and press Ctrl+H to hide selection temporary, but don’t remove selection for now! It is important! Then apply Filter > Sharpen > Unsharp Mask with some suitable presets for the photo. Pay your attention that for each photo presets should be individual. I tried following presets:
See the result now:
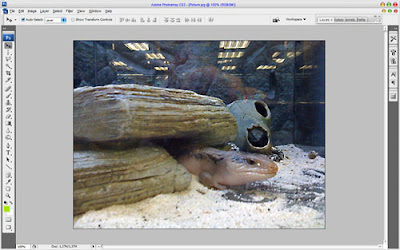
Now, we have some selected area, but it is hidden for now, press Ctrl+H again to make it visible. Then press Ctrl+J to duplicate selected area to new layer. Then apply Filter > Sharpen > Sharpen Edges:
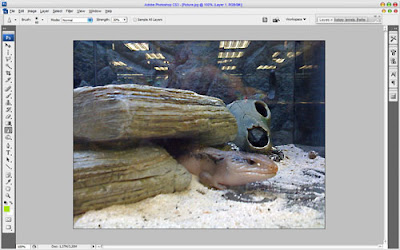
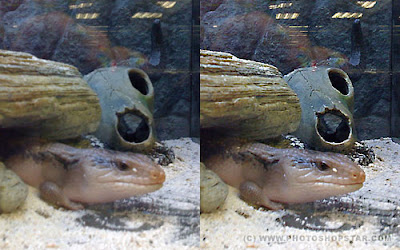
That is it for now. We sharpened photo without increasing the noise visibility. Hope, you got some interesting knowledge from this tutorial.

Sunday, May 23, 2010

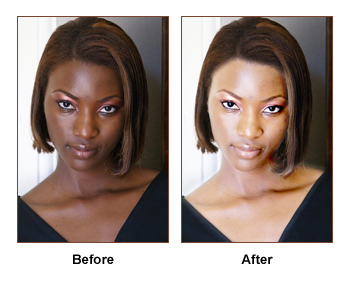
Fairness Cream - Before and After Effect

In this tutorial we will take close up of a face with dark complexion and turn into a significantly lighter tone to create an after effect of using the cream. This effect can be performed on any part of the body.

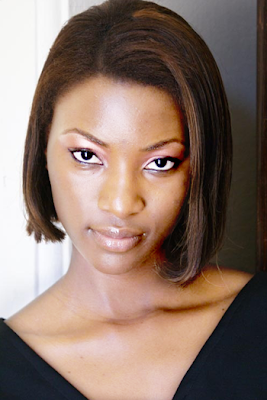
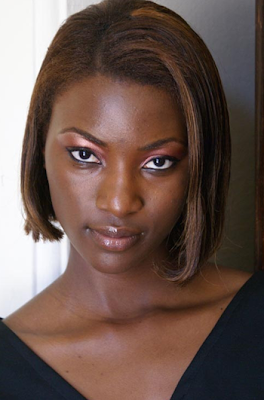
1. We need to choose image, I picked up the one below, with a darker skin (to achieve better effect).

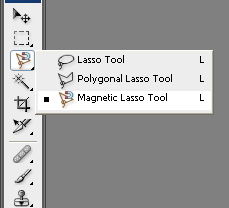
2. Now, we need to create the selection of area of face on which we are going to work. You can choose any selection method you want. For this image magnetic lasso would be a great time saving selection tool.

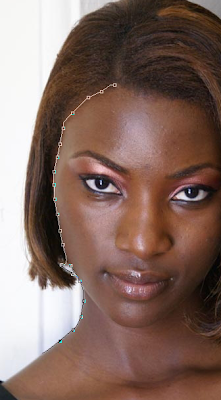
3. Using magnetic lasso tool, click on any starting point on the boundary of her face. Then just keep moving on sides of the skin area till you reach the starting point again.

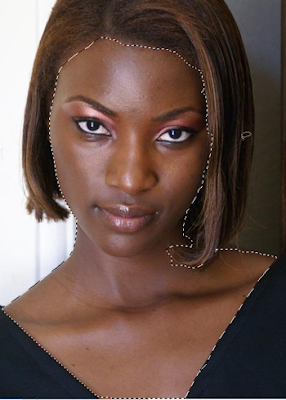
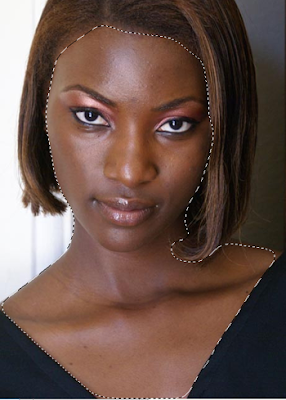
4. Once you complete it, this will convert into a selection as shown below.

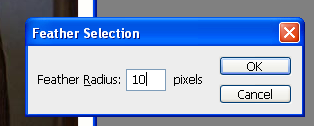
5. Now press Ctrl+Alt+D to feather the selection. Set Feather Radius to 10. Just like shown on picture below.

The selection will smoothen up as shown below.

6. Now we need to copy and paste our selection in a new layer. Do that by pressing Ctrl+C and then Ctrl+V, and you should have a new layer containing only skin we’ve selected before.
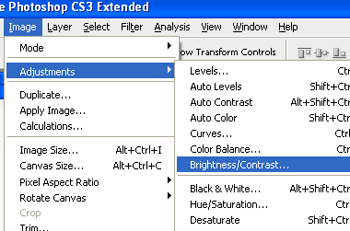
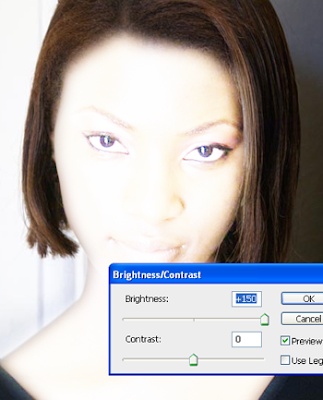
Stay on this new layer and go to Image menu select Adjustments>>Brightness/Contrast. (see the picture below)

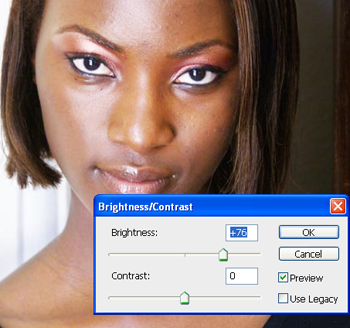
Increase brightness to a high value. Tick the “Preview” box (if it isn’t ticked already) and you will see the effect in action in real time. See the image below to check settings I used.
Note that, this values may not be perfect for your pictures so it’s the best for you to choose them as you wish or like

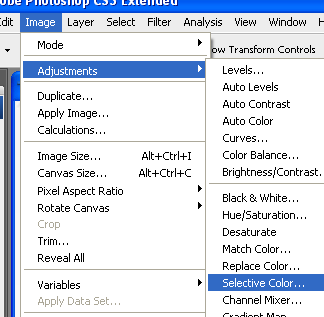
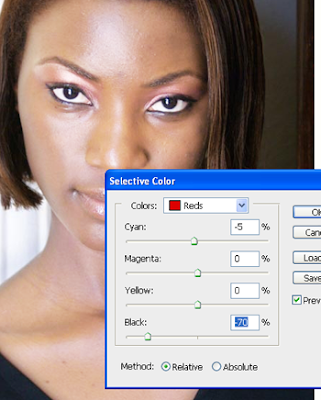
7. From Image menu select Adjustment>>Selective color (just like shown on picture).

Make sure, selected color range is Reds on top. Then reduce Black to a large negative value as shown below. You may also try reducing cyan too and see in the preview if its lightens the skin color.

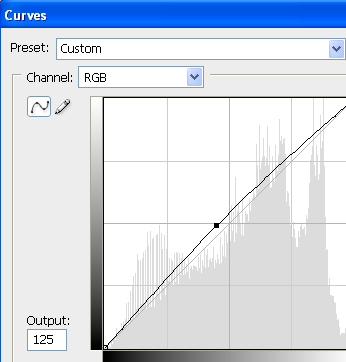
8. Again from Image menu select Adjustments >> Curves or press Ctrl+M to open curves editor. Click in center and drag a little upwards. Don’t overdo this or else the image will look burnt. Take a look at the picture below.

Now in Layers window duplicate the face layer and go to Image > Adjustments > Brightness/Contrast. Increase brightness to an insanely high value.

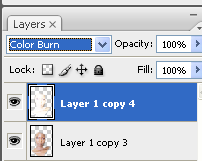
Go to Layers window once again and change layer mode (on duplicated layer) to Color burn.

And voila! You’ve done it.
Here’s my result.

A closer look (before & after).

Wednesday, April 21, 2010

Sexy retouch for a soft skin

By Dirk Metzmacher

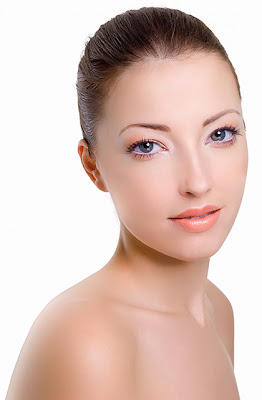
You might have asked yourself now and then „How do I make a soft skin without destroying the pores?“. In this workshop I’ll show you how this kind of touch-up works, and how you can conserve the pores. This goes from basic retouch up to powdering the skin.


Basic retouch
Before we start softening the skin, you should perform a so-called basic retouch. This means that zits, moles and other blemishes are removed. How much you want to weaken things depends entirely on your personal taste, of course.

Before we start softening the skin, you should perform a so-called basic retouch. This means that zits, moles and other blemishes are removed. How much you want to weaken things depends entirely on your personal taste, of course.

Contrary to the Clone Stamp tool which transfers areas exactly as in the original, the Healing Brush tool works by cross-calculating brightness values and thus removing blemishes very cleanly, adapted to the surrounding area.

Skin powdering
Now we get around to doing the so-called skin “powdering”. Duplicate the layer with Layer > Duplicate Layers or Ctrl+J and give the new layer a Vivid Light blending mode.


Press Ctrl+I or use Image > Adjustments > Invert to invert the current layer. Whatever you may see on the screen now: Don’t get confused by that, we’re still on the right track even though it might look a bit funny.

Apply Filter > Blur > Gaussian Blur with a radius of about one pixel. Here you should choose a radius just small enough so you can barely see the pores anymore.

Next, use the High Pass filter which you can find under Filter > Other. With this one it’s a matter of taste how strongly you apply it. I usually keep the radius between 20 and 40 pixels.

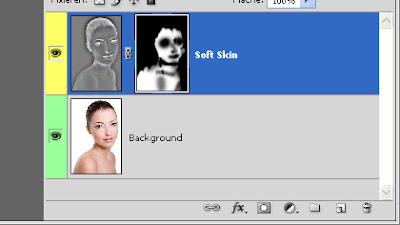
This change should not be applied everywhere. Select Layer > Layer Mask > Hide All to create a black mask that hides all layer content for now.

Tip: You can also create a black mask by clicking on the Add Layer Mask button in the layer palette and holding the Alt key.


Now use a white foreground color to paint the changes back into the image, but only on the skin. Don’t start off with an opacity of 100%, but experiment a little with the strength instead. You’ll see how the skin becomes noticeably softer and the pores are kept intact.

Tip: If you select Filter > Convert for Smart Filters right after inverting the image, you can do all this retouching in a completely non-destructive way.

Monday, March 15, 2010

How to Use Gaussian Blur in Photoshop

Gaussian Blur is a filter that blurs an image. But it's also the math behind the Feather command, drop shadows, and everything that is soft in Photoshop. And here's the crazy thing: You can sharpen an image using Gaussian Blur!

Thursday, December 24, 2009

Removing Dark Circles Under the Eyes

Whether it's caused by lack of sleep, too much work, stress, skin texture and tone or whatever, lots of people have dark circles under their eyes. Since removing them requires just a tiny bit of brush work, they make a perfect candidate for a quick Photoshop retouch.

Sunday, December 6, 2009

Change Eye Color

This tutorial will explain how to change the eye color in 5 steps.
After this tutorial for beginners, you can create a really cool effect in just a few minutes.

End Result:


STEP 1:

Start with opening the picture you would like to change.
These are the pictures i used for this example.


Zoom in to the eye by pressing (Z) and clicking the eye.

STEP 2:

Click (Q) to open up the “Quick Mask Mode”, and press (B) or click the brush tool brush.
Now fill the eye area you would like to change.


STEP 3:

When you are done Press (Q) again and then Press (M) or click eye_icon_2 to open the “Rectangular Marquee Tool”.
Right click the area you have painted and click “Select Inverse”, Right click again and click “Layer Via Copy”.


STEP 4:

Now you have 2 layers. Select the new layer “Layer 1″.

Press (Ctrl + U) or go to Image -> Adjustments -> Hue/Saturation…

Now move the “Hue” to get the desired color. You can play a little by changing the Saturation and Lightness, but mostly you dont need to edit them.


STEP 5:

When you are happy with the color click OK, Save the image and you will have a picture that looks something like this:


I Hope you enjoyed folowing this tutorial, please leave a comment.